

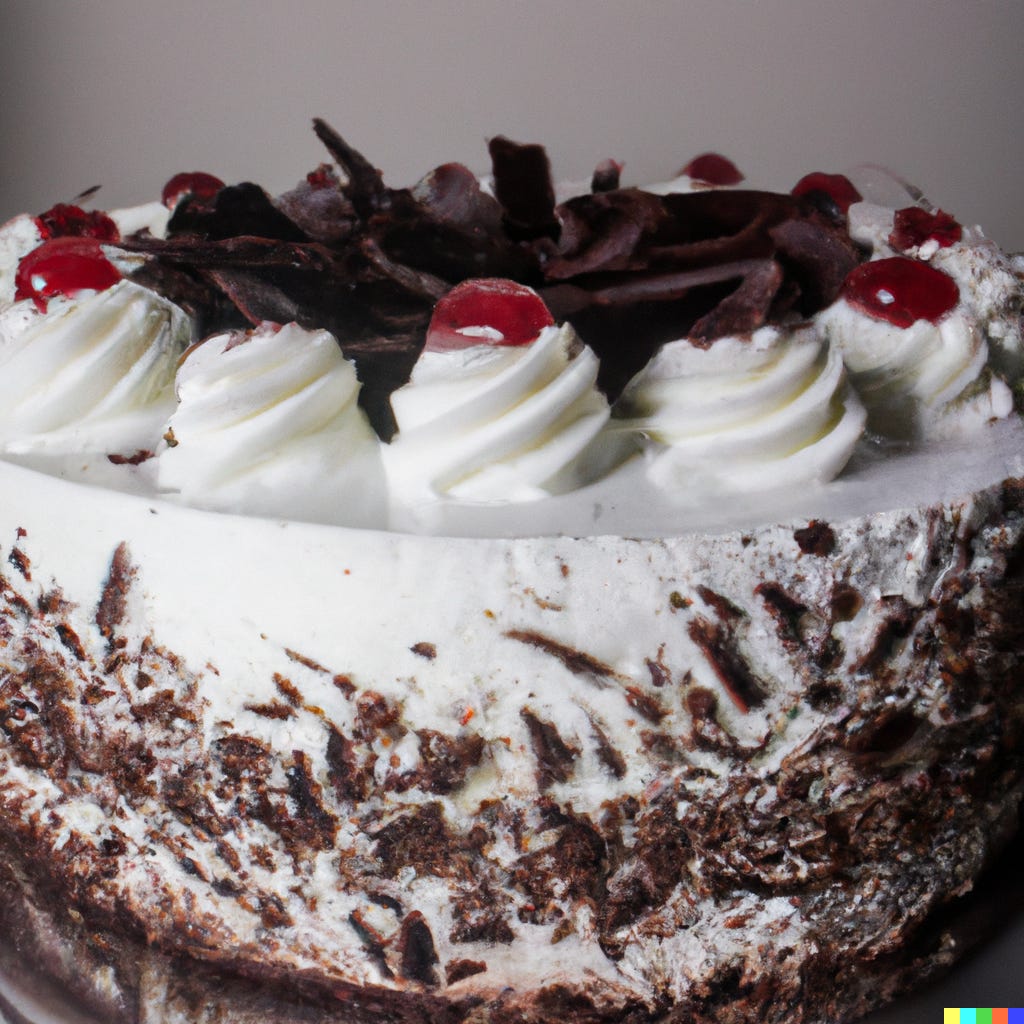
Alba's Signature Black Forest Cake
Alba's Signature Black Forest Cake
From the recipe blog "The Magic of Baking!" by Alba Thornton

This post contains affiliate links, which means that if you click on them and buy the product, I earn a bit of money! Thanks for your support!
What says “perfection” more than a good black forest cake? I don’t know about you, but these delicious chocolate cakes are my all-time favorite dessert! Simple, tasty, and easy to make!
But wait, imagine a cake that could give you a little zip in your step, too! A little boost to help you get your stuff done! Well, now you can have it. I’ve made my own recipe, complete with everything busy ladies like us need!
I have to brag a little bit and tell you that I’m everyone’s favorite at our gatherings now, and they all tell me how much this cake charges them up, and beyond that, how good it tastes! It’s all I ever bring now, and it’s so easy I can whip it up in the afternoon and have it ready to bring in the evening!
Okay, so I bet you’re saying “Alba, get to the recipe already!” Well, without further ado, here is my Signature Black Forest Cake recipe!
Overview
This delicious and moist black forest cake consists of the following parts:
Chocolate sponge cake
Whipped cream frosting
Chocolate ganache
Component “cherries” (these make my cake extra special 😉)
Chocolate sponge cake
Since the sponge cake has to absorb the strong flavors from the components, we will be making ours with extra cocoa powder, butter, and sugar. This will result in a rich, chocolatey, sweet sponge that helps overpower the taste of the components. We will add whole milk yogurt as well to make it nice and dense, which helps hide some of the texture from the components.
Since I like this sponge so much, I decided to split it off as a separate recipe entirely for use with other cakes! You can find it here: Alba’s Signature Chocolate Sponge. Follow the instructions there and return to this recipe when you’re done!
Whipped Cream Frosting
In my opinion, you can’t have a black forest cake without some silky whipped cream frosting that melts on your tongue! Thankfully, my baking BFF Mathilda Hilbert has got an excellent recipe for this! Check out her Zany Whipped Cream Frosting recipe. It’s got all the flavor and that little extra bit of zing that you’ll love. 😇
Go ahead and follow her recipe, but make sure you strain the extract, so you get a nice smooth consistency! She doesn’t explicitly mention this in her recipe, so I wanted to make sure I brought it up here. Note that the frosting will turn out a reddish-white color due to the extract, but it actually looks quite nice against the chocolate sponge!
Once you’re done with the whipped cream frosting, set it aside. Before we spread it on the cakes, we need to prepare our components, as we will be layering those into the cream. But first, the ganache!
Chocolate Ganache
We will be garnishing our cake with a beautiful, smooth and shiny chocolate ganache. And guess what? It’s got more extract it in it to give you even more of a boost! I call this “Tangy Ganache.” 😋
Preparing the ganache is easy as pie (or cake)! You need some semisweet chocolate bars (I recommend Hershey’s® Baking Bars), a cup of heavy whipping cream, and for this recipe, a tablespoon of virgin extract.
Simply heat the heavy whipping cream in a saucepan until it begins to simmer, then break apart the chocolate bars and drop the pieces into the warm cream. Stir the chocolate pieces until they begin to melt and pour in the extract and stir it in with the melting chocolate. This will give the ganache a dark reddish-brown color, which looks absolutely lovely. Again, remember to strain your extract! Clots can ruin the texture of the whole recipe 😭
Tip: Waste not, want not! You can store your virgin asset for repeated use in a wine cellar or basement. I use the Zinc Plated Anti-Theft Security Chain from Home Depot to keep my virgin asset secure. As long as you keep the asset fresh, it will keep providing potent extract for years to come! If you wanna learn more about this, you can read my full guide here: Save the Earth! How to Reuse Virgin Assets.
One more thing! If you’re having trouble finding virgin assets, I wrote up a guide on that too: Harvesting Virgin Assets from Church & Chess Club!
Component “Cherries”
Now for the special ingredient! Typically, black forest cakes include cherries as nice little juicy red bursts of flavor. Well, doesn’t that sound like something else we know?? But you have to admit, components are quite the acquired taste. That’s the beauty of this recipe! We’ll add cherry syrup and sugar to the components, so they almost taste like actual cherries!
Now, I have to be serious for a moment and remind you to be very careful when you prepare your components. You could drop a component and cause it to be tainted, or you could lose a finger while carving, or — Morgana forbid — you could get seriously injured or even killed by an asset that was improperly subdued 😱. We all make mistakes, and I’ll admit that I’ve dropped several components over the years and had to start all over again every time!
Lucky for you, I’ve written a full guide on this part of the process as well! You can read it here: All About Capturing Normal Assets, Storing Them, and Removing Components. A quick tip: I’ve found that the Williams Sonoma Meat Tenderizer is a great tool for subduing assets, and I recommend the Shadow Black DALSTRONG Serrated Utility Knife 6.5" for carving.
For this recipe, you’ll need the following components:
Two hearts, ages 15-21
One kidney, ages 6-12
Once you’ve gathered all your components, carefully chop them on a mahagony haunted board into small pieces about the size of cherries. Heat a cup of cherry syrup in a saucepan until it simmers, then mix in a 1/3 cup of granulated sugar. Lastly, drop the components in and let them heat up. Don’t boil the components, as this will greatly lessen their effectiveness!
Constructing the Cake
Now that you’ve got all the ingredients, it’s time for the fun part! Place a single layer of sponge cake on a clean cake platter, then spread the Zany Whipped Cream Frosting generously over the top of it and drop a few of the “cherries” evenly into the cream. Place another layer of cake on top and repeat the process, creating a layer of cream and components between each cake layer. Once all three sponge cakes are in place, finish the frosting job by spreading whipped cream on the sides of the cake as well.
Once you’ve iced the whole cake, carefully drizzle the Tangy Ganache on top, letting it cover the top and flow down the sides. Looks delicious, right? Feel free to shake some red sprinkles on top to make it look extra appetizing!
Lastly, use whatever component cherries you have left as a garnish for the top of the cake. I like to make a cute little daisy pattern with them but do whatever makes you happy! After all, not only is baking a great way to bring joy to others, it’s also an expression of your own creativity!
You did it! You made the cake! Easy, right? Now for the best part…
Serving
Cut the cake into exactly six even slices, then bring it in a covered platter to your next coven gathering. Serve a single slice to yourself and to each of your five sisters (make sure everyone has exactly one slice — with a cake this strong, overdoses are a concern!) and watch their eyes light up when they take a bite! After everyone is finished, you’ll be ready to perform your rituals and you won’t even have to eat any components raw. Doesn’t that sound good?? Enjoy, and don’t forget to share this recipe with all of your witch sis’s!

Actual Author’s note: Apologies to Sally’s Baking Addiction and Liv for Cake, whose Black Forest Cake recipes (Sally’s, Liv’s) I referenced for this post.
Oh, Alba. Oh nohhhh